
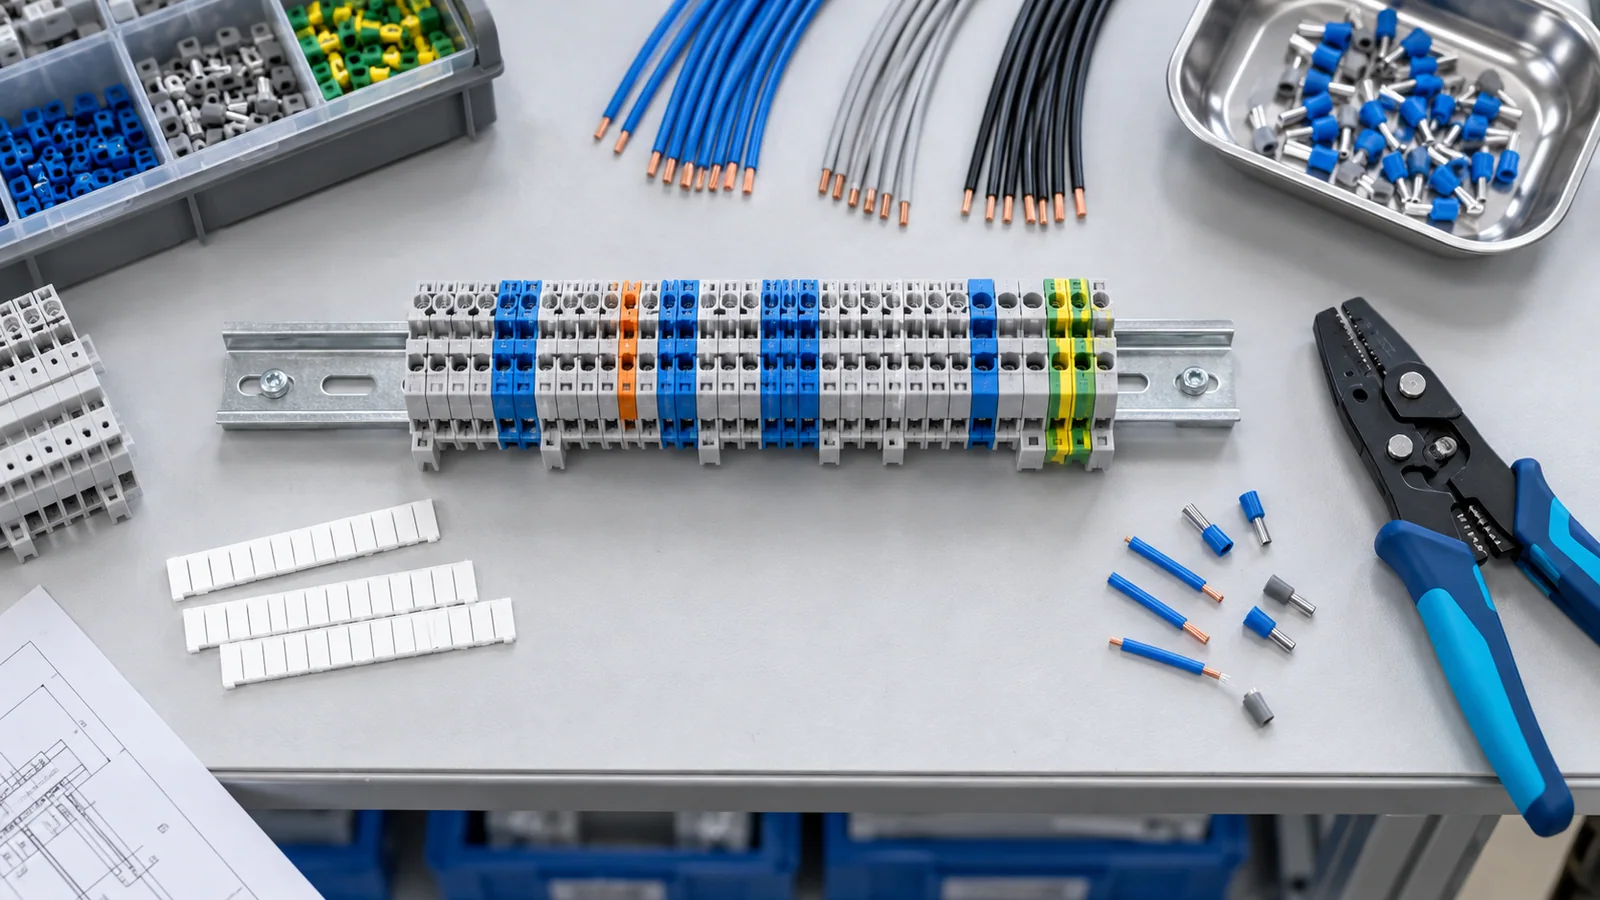
The lowest-cost terminal-block build is not necessarily the one with the cheapest block. For a repeatable low-voltage panel, reduce total installed cost by controlling wire preparation, terminal selection, labeling, preassembly, and rework while keeping the same required electrical ratings and verification. A cheaper component that increases labor, inspection failures, or undocumented substitutions may cost more and weaken the safety case.
This is a panel-shop process method for qualified designers and assemblers. It does not supply universal labor savings, torque values, or a shortcut around local code and product instructions.
Measure the entire installed connection
Choose a unit of work: one accepted, tested connection or one repeatable panel. Record the actual components and minutes for a representative build. Include the tasks that often disappear from a material-only comparison.
| Cost element | Measure | Typical hidden cause of variation |
|---|---|---|
| Material | Block, end plate, jumper, marker, ferrule/lug, wire | Extra part variants or incompatible accessories |
| Preparation | Cut, strip, crimp, identify | Frequent tool changes and uncertain strip lengths |
| Assembly | Mount, insert, route, tighten | Difficult access, cramped bend space, unclear instructions |
| Verification | Visual, torque record, continuity and project tests | Missing labels or documentation |
| Rework | Diagnose, replace, reinspect | Wrong wire range, terminal count, jumper or drawing revision |
| Scrap and inventory | Unused parts, damaged wire, obsolete variants | Too many similar stock keeping units |
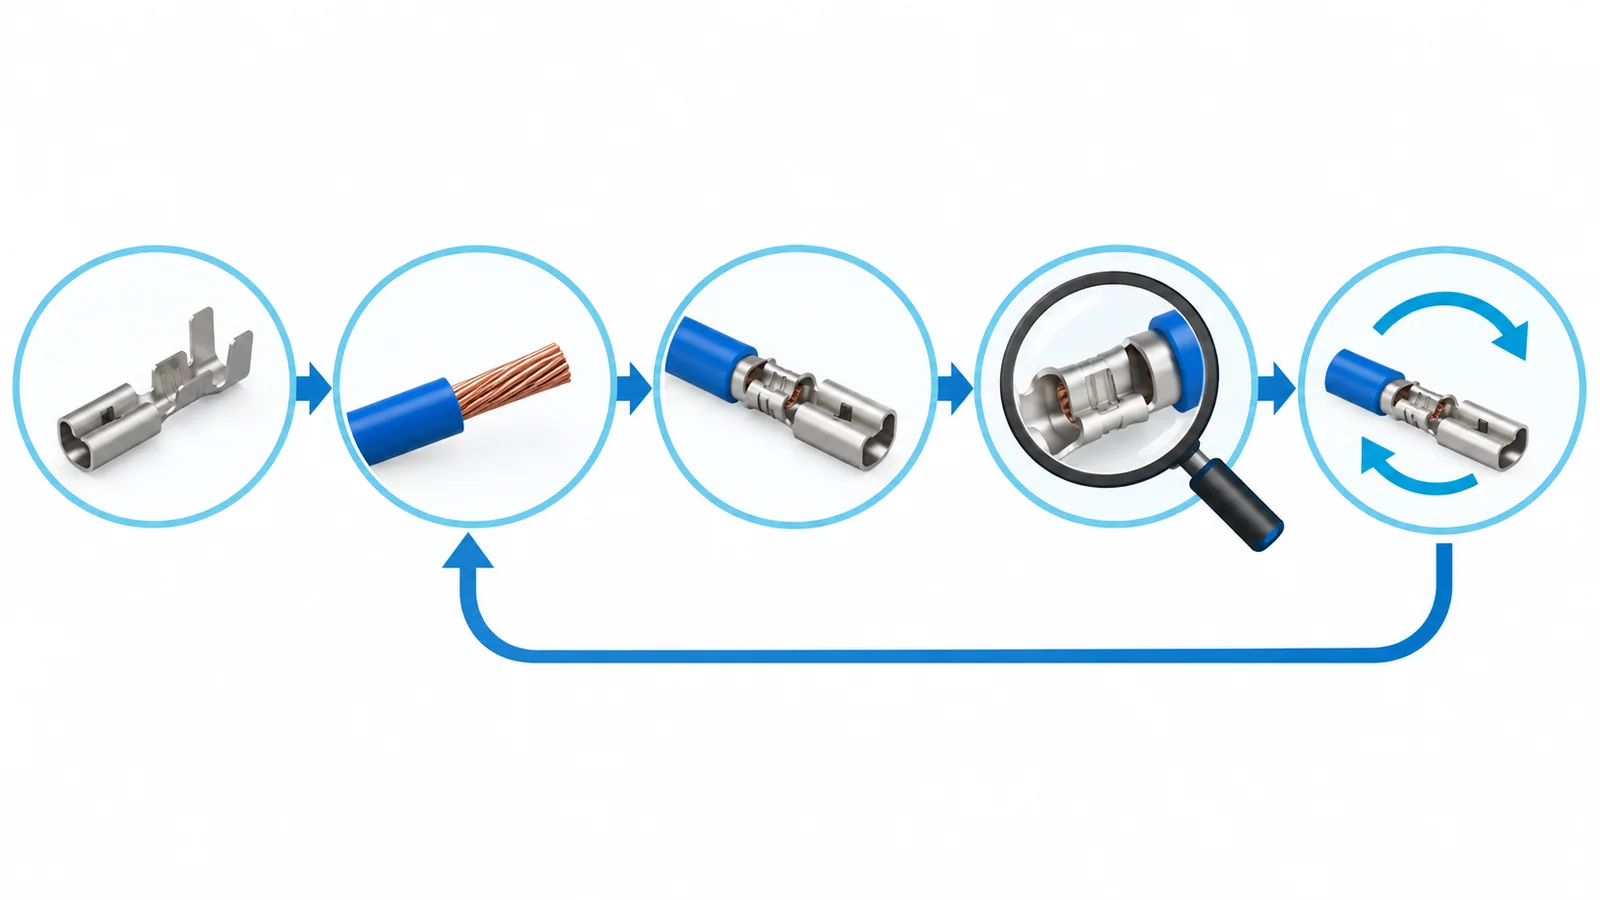
A practical worksheet is installed cost = material + direct labor + inspection labor + expected rework + allocated scrap, with each term measured for the same accepted output. Keep labor rates and rework assumptions visible; do not treat an estimated time saving as a measured result.
Illustrative calculation, not a savings claim
Suppose an internal pilot observes a baseline of 8 minutes to prepare and install a connection plus 2 minutes of inspection. At an illustrative loaded labor rate of $45 per hour, labor for that connection is (8 + 2) / 60 × $45 = $7.50. If a standardized preparation step reduces assembly to 7 minutes while inspection remains 2 minutes, the modeled labor is 9 / 60 × $45 = $6.75. The modeled difference is $0.75 per accepted connection before any extra tooling, scrap or rework changes.
These numbers are invented solely to demonstrate the arithmetic. They are not OHELE test data or typical industry performance. The decision becomes real only after a local pilot measures the time, defect and verification effects under the same panel scope.
Standardize the engineering inputs first
Safety-critical component selection remains a design decision. Limit the permitted terminal families to those whose voltage, current, conductor classes, wire count, mounting, environment and approvals cover the application. A single product family may reduce variant count, but forcing one block across incompatible circuits can create hidden rework and unsafe substitutions.
IEC 60947-7-1:2025 defines a product-standard scope for industrial copper-conductor terminal blocks. It is not a blanket declaration that any block is suitable in any panel. IEC 61439-1:2020 addresses general assembly construction and verification; applicable product parts and local adoption still matter. The terminal-block marking guide explains how to keep the part record and installation conditions tied together.
Create a controlled terminal schedule containing the position, circuit, conductor, approved block, accessories, jumper, label, preparation, and verification requirement. Freeze a revision for the build lot. When a substitution is necessary, route it through engineering approval rather than letting fit at the rail decide.
Target labor without deleting hold points
The most useful process changes preserve the electrical design and make work repeatable.
- Pre-cut and identify wires from approved drawings. Confirm length and routing on a pilot panel before scaling. Pre-cutting an incorrect drawing only multiplies scrap.
- Set up compatible tools and gauges. A documented strip-length gauge, crimp die and torque tool reduce variation. Tool settings come from the selected terminal and conductor system, not a shop-wide guess.
- Kit the exact accessory set. End plates, markers, jumpers and covers should arrive with the matching terminal family and revision.
- Arrange terminals for access. Adequate wire-bend and inspection space may reduce assembly time and defects, even if the enclosure or rail length increases slightly.
- Preassemble repeatable groups. Validate that transport and mounting do not loosen or damage a preassembled terminal strip. Preserve traceability between the group and its circuit schedule.
- Make quality checks visible at the station. Catch the wrong size, exposed copper or missing end plate before a completed harness hides it.
The barrier-terminal installation workflow gives a detailed connection hold-point example. The solid-versus-stranded conductor guide explains why wire class and ferrule decisions cannot be settled by a price list alone.
Cost changes that require engineering reapproval
| Proposed change | Possible gain | Evidence gate before release |
|---|---|---|
| Substitute a lower-price block | Material cost | Exact rating, conductor and approval equivalence; assembly effects |
| Change screw to spring clamp | Preparation or assembly time | Accepted wire classes, vibration/environment, maintenance and testing method |
| Eliminate ferrules | Material and crimp labor | Manufacturer’s permission for bare stranded wire and local work rules |
| Put two wires in one position | Rail space | Explicit terminal identification for two conductors and correct sizes |
| Use a shared jumper | Wiring time | Jumper compatibility, current path, short-circuit and thermal effects |
| Reduce inspection | Apparent labor reduction | Demonstrated equivalent quality control, independent of claimed time saving |
For U.S. workplaces, OSHA 1910.303 requires listed or labeled equipment to be used according to its instructions and requires terminals for more than one conductor to be identified. Removing a verification step can invalidate the process even if the panel appears to function during a quick continuity check.
Pilot the change on a bounded product family
Choose one repeatable panel and one proposed change. Keep baseline and pilot comparable: same circuit count, conductor sizes, drawing revision, operator skill and required tests. Record actual assembly time, inspection time, defect type, rework time, material use, and any test failure. Record the cost of new tooling or training separately.
Set a stop condition before the pilot: any missing approval evidence, altered current path, unexplained heating, damaged conductor, failed pull or torque check, failed continuity or insulation test, or incorrect drawing identification sends the change back to engineering. A sample that merely powers up is not an acceptance test.
The safe-work boundary applies during pilots too. OSHA 1910.333 addresses de-energization and verification for exposed fixed electrical equipment in its U.S. scope. Qualified personnel must follow the site procedure; this article is a costing framework, not an energized-work method.
Decide using cost per accepted panel
Compare baseline and pilot on cost per accepted panel, not cost per untested assembly. Separate one-time implementation cost from recurring cost. A change is worthwhile only when its measured benefit remains after tooling, documentation, inventory and defects are accounted for, and the engineering approval and inspection criteria still pass.
If the proposed saving depends on skipping an essential test or on accepting an undocumented terminal combination, it is not a valid cost reduction. Look instead at standardization, access, kitting and early defect detection—the process variables the shop can measure and improve without changing the required safety outcome.